Tag Archives: youthful skin
“You can’t help getting older. But you don’t have to get old.” – George Burns

50 is the new 40… I’ve heard it too many times before, if only it were true… well, maybe it is for the very few who are genetically blessed with eternally youthful-looking skin. For the rest of us mere mortals, we just have to keep trying these anti-aging products and skin-glowing treatments on the market to see which among the latest ingredients or technology delivers real results.
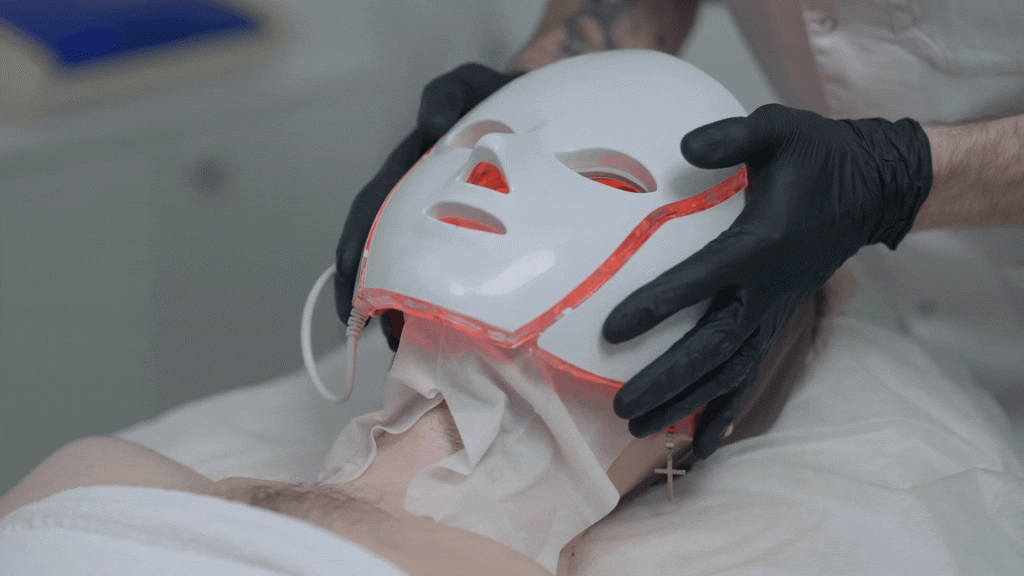
Among the latest treatments I came across, the claims about the Light Emitting Diode (LED)therapy certainly sounded appealing to me. They’re touted to treat everything from wrinkles, redness, and signs of aging to acne, scarring, and dark spots. Besides, it is popular among celebrities and social media influencers, posting selfies with their LED masks. So, let’s take a look at some of the details that will shed light on this skin treatment innovation.
Initially, LED therapy was used exclusively for the needs of science. The application of lamps was intended to grow plants in space shuttle missions. But then it was discovered that a certain wavelength promotes better tissue regeneration and can be useful in healing wounds. Overtime, LED therapy has spread to cosmetology and is now actively used to treat skin diseases and fight wrinkles.
The lights are generally classified into three wavelengths: ultraviolet, visible, and infrared. And according to how many LEDs and wavelengths in the device being used, you can treat pigmentation, aging, and acne skin. Here’s a rundown of the different LED light therapy benefits:
Blue Light Therapy
Blue light therapy has a shorter wavelength and can be very effective when applied topically to kill the acne-causing bacteria known as Propionibacterium acnes or P acnes. These bacteria found in the sebum and oil glands cause inflammation and breakouts on the skin surface. The good news is that P acne is sensitive to blue light and can be eliminated with this kind of therapy. Coupled with proper cleansing and treatment regimens, it offers a safe alternative to antibiotics and harsh topicals.
In addition, blue and red light treatments can be combined to treat acne conditions – heal the skin, diminish scarring, and reduce inflammation. The treatment is great for occasional breakouts too. It takes just a few minutes to get great results when used at home.
Red Light Therapy
Red light belongs to the higher wavelength component of the visible light spectrum. Red light therapy, or RLT, exposes you to low levels of red or near-infrared light for treating certain conditions, such as skin and muscle issues. It can speed wound healing, reduce scarring, stimulate collagen production, promote firmness, and improve skin texture.
Red light therapy can also be used to relieve chronic pain and some sports injuries. In fact, there are now red LED light beds that athletes and some medical professionals use for this purpose.
RLT, known by several names: photobiomodulation (PBM), low-level laser therapy (LLLT), biostimulation, and soft laser therapy, is a popular therapeutic option. It is provided at various facial clinics, wellness centers, spas, and athletic centers. RLT devices for home use are also widely available. The safest way, however, to get this therapy is through a qualified practitioner or aesthetician.
Results from using red light therapy take longer but are noticeable after 4–6 weeks of regular application.
Green Light Therapy
Green light therapy helps to lighten hyperpigmentation spots for a brighter complexion and the soothing effect has anti-inflammatory properties. It is used to treat dilated capillaries, loose skin around the eyes, under-eye circles, hyperpigmentation, and sunspots, especially on the hands.
Because green light waves penetrate more deeply than blue light, it is recommended that the application of green light to the face be done in a salon.
—–
Light therapy is painless, non-invasive, and requires no recovery time. Red, blue, and greenlights can be used on all skin conditions and ages with no side effects. However, I would highly recommend seeking the help of a skincare professional for a series of treatments in the salon and adding a hand-held or even a full-face unit to your skincare routine at home.
At our salon, we have been using the handheld units during our facial treatments to great effect and have also been retailing them to many clients for home use.
For more beauty and skincare tips, call us at Skinsense Wellness (323) 653–4701 or email us at skinsense@skinsensewellness.com. And for skincare services, please visit us at 8448 W. Third Street, Los Angeles, CA 90048. We will be happy to see you.

“Skin-vestment – the act of putting time, effort, and money into your skin to keep it healthy and glowing.”
Dear Marion… how much time should I spend daily on my skincare routine for it to be thorough and effective? Sincerely, Mrs. trying-hard-not-to-be high maintenance.
In my previous blog, I shared a few beauty shortcuts for when you find yourself in a time crunch. But if you really want to see brilliant results from your skin products and regimen, it’s always best to put in a sufficient amount of time every day on your skincare routine – both daytime and nighttime.
It may sound like high maintenance but, in reality, each step is necessary to achieve healthy, youthful-looking skin. So even with a busy schedule – juggling kids, a partner, and work – it is important to carve out that essential “me time” to take care of your skin.
Here is a basic plan that works out evenly for both the a.m. and p.m. skincare regimen.
MORNING ROUTINE – geared towards protection from the elements.
Step 1: Cleansing
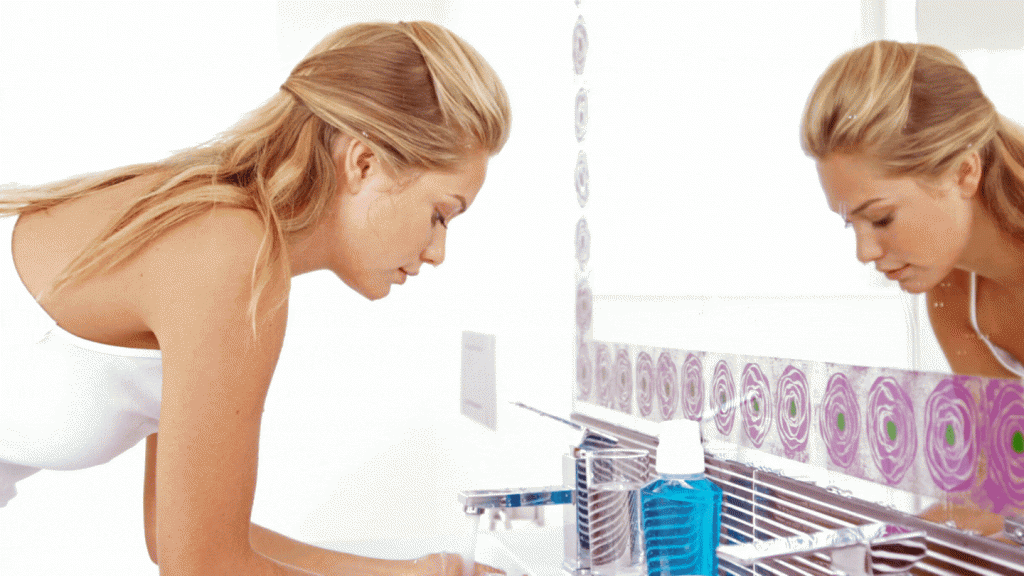
Massage the cleanser into your skin for at least 30 seconds to a minute, making sure to get into all the nooks and crannies. You can rinse your face immediately, unless your cleanser contains active ingredients such as AHAs, or alpha hydroxy acids, then follow the product instructions.
Adding a silicone brush to cleansing 2-3 times a week ensures your pores stay unclogged and your skin super clean.
Wait for the skin to feel completely dry before moving on to step two. But, if you are using a toner containing hyaluronic acid, apply it immediately after cleansing while your skin is still damp. This seals in an extra layer of hydration.
Step 2: Toning
Yes – toners are important! They restore the pH of the skin, get rid of impurities and excess oils, shrink the pores, and prepare the skin to better absorb other products, such as serums and moisturizers. Some toners are also a humectant, which means that they can bind moisture to the skin.
It is most effective when applied with damp cotton, rather than sprayed on, and usually takes around 20 seconds to apply.
Step 3: Serum
Serums are lighter skin care formulations than moisturizers. Because they have thinner viscosity they are absorbed more easily and feel light on the skin.
This step should take around 30 seconds or the time it takes to smooth the product over the whole face.
Step 4: Eye Cream
The skin around your eyes is thinner, very delicate, and the first to show signs of aging. So apply creams specific to the eye area to avoid damage or irritation. If you are extremely sensitive or wear contact lenses, gel formulas may be more suitable.
It should take around 30 seconds to apply a specific eye product.
Step 5: Spot Treatment
Treat the areas with acne, blemishes, dark spots, age spots, or uneven skin tone one by one to help to reduce redness or discoloration and speed up your skin’s natural healing process.
The time this step will take depends on how many blemishes you have, but approximately it should be around 20 seconds for the application. Let the treatment dry before moving on to the next step, which could take at least one minute. Otherwise, the treatment will end up migrating to other parts of your face.
Step 6: Moisturizer
Apply the moisturizer to the face, neck, and chest.
The cream must absorb completely before moving to the next step, so wait about two minutes, or at least until the skin doesn’t feel sticky to the touch.
Step 7: Sun Cream
This is the step that should take the longest in a skincare routine. If applying it to the whole body, spend at least two minutes thoroughly applying it, and be generous. If it’s just the face and neck, a minute or two should be enough.
Then wait about 10 minutes before applying makeup. Applying makeup too soon can disrupt the sunscreen and reduce coverage and efficacy.
Total time for daytime routine: 20-30 minutes, before applying makeup.
NIGHTTIME ROUTINE – geared toward repair and rebuilding.
Repeat steps 1 through 5 from your morning routine.
Step 6: Treatment
Apply serums that contain any of the plethoras of active ingredients currently available – ATP, stem cells, peptides, minerals, antioxidants. This is a sure way to support the skin while you sleep. Choose a few of the ingredients to alternate every night and follow instructions by the manufacturer or as advised by your aesthetician, to avoid any reactions and get the best results.
Allow five minutes before the next step.
Step 7: Night Cream
Apply the cream over the face and neck, which should take around one to two minutes.
If you want to use a facial roller or gua sha tool, this is the moment to do it. Then wait at least 10 minutes before going to bed, so all the products that have been applied don’t end up on the pillow.
Total time for nighttime routine: 20-25 minutes.
“Invest in your skin. It is going to represent you for a very long time.” – Linden Tyler
For more beauty and skincare tips, call us at Skinsense Wellness (323) 653–4701 or email us at skinsense@skinsensewellness.com. And for skincare services, please visit us at 8448 W. Third Street, Los Angeles, CA 90048. We will be happy to see you.


